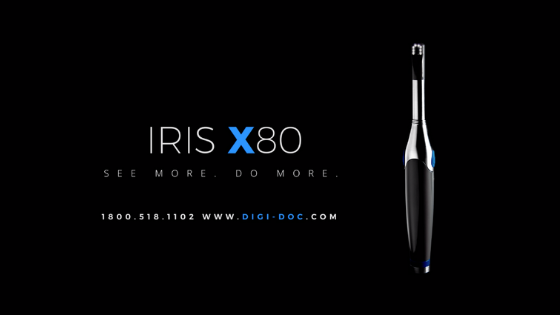

IRIS X80 Camera and LUM Demonstration
Product Features: IRIS X80 Camera and LUM Demonstration
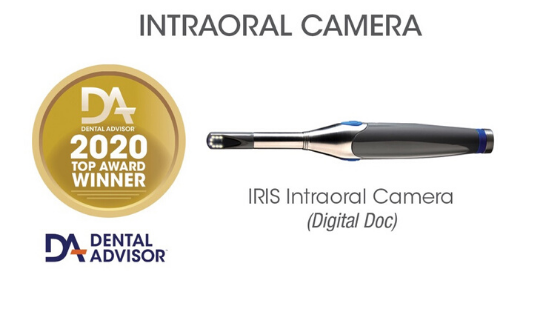
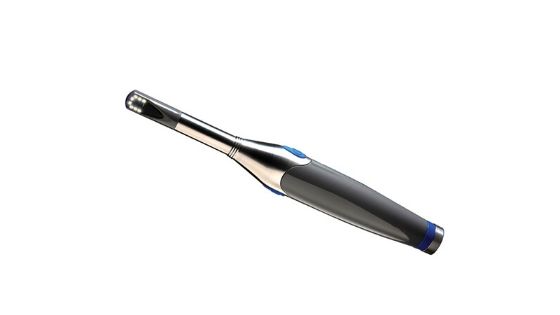
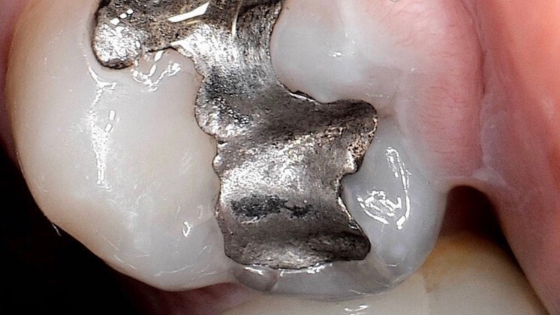
On its own, the IRIS X80 intraoral camera is a powerful diagnostic tool in the hands of dentists and other dental health professionals.
The camera effortlessly transitions from larger images (of the entire bite) to images of smaller areas (a single tooth). This ease of use means that productivity will be improved since the camera will be used a lot more times than if it was difficult to use (in which case professionals would skip using it).
Additionally, there’s no degradation of the image when using the camera with the sheath on. The coloring of the images is correct both for the tooth and for the gums. These clear images allow you to share a view of the patient’s mouth with them. Consequently, the patient will be in a position to understand better your treatment plan. They will also understand the urgency of starting treatment before more dental issues can arise out of this treatable condition. Dr. O’Grady, a dentist in Denver, CO, adds that his patients absolutely love being able to see what the doctors seeing. It makes communicating that much easier.
Why Use a Dental Camera Cover
You can use the IRIS X80 with or without a camera cover, but there’re 3 good reasons to use a camera cover:
- Patients feel more comfortable having this single-use disposable surface making contact with their oral structures.
- Patients never get to taste the disinfectants or cleaning products used on the camera.
- The sheath dramatically cuts down the fogging of the camera while it’s in use.
The IRIS X80 Autofocus Dental Camera Works Even Better With the LUM
The LUM is a sub-enamel illuminator that quickly and easily attaches to the Digital Doc dental camera. You simply slip it over the dental camera on the side with the tip (not the side where you hold the camera).
This combination of the X80 camera and the LUM Sub-enamel illumination device takes the diagnostic powers of the X80 to a whole new level. The LUM doesn’t require any extra software if you want to use it with your X80 camera.
The LUM allows you to get x-ray like images of the teeth without exposing your patients to any ionizing radiation.
It allows you to clearly show fractures, caries, and different abstractions and defects in the teeth. This saves doctors from taking time to use dental probes and then x-rays in an attempt to get a clear understanding of the magnitude and progression of defects.
Benefits of the LuM
By placing the LuM on the camera and viewing a defect of concern, such as a black spot on a tooth, you are able to move the camera around and see the shape and depth of the spot.
The LUM can also allow you to see how caries are spreading in a tooth. This wouldn’t have been possible without the sub-enamel illumination device since you would only see spots on the surface of the tooth. The detailed x-ray like images can be documented in the patient’s file. These stored images can then be referred to during subsequent dental visits, but the most important thing is that the patient can see exactly what you see and how you are planning to help them.
The LUM can also help to detect and document interproximal caries. As described earlier, you can move the camera around in different directions in order to view caries from different angles and also show the patient what you are seeing.
The LUM’s usefulness isn’t only restricted to molars and premolars. It can be used on any tooth. For example, the LUM can help you to see how deep fractures on front teeth are, and you can document these defects as well as show the patient what you see.
Take a look for yourself and see the combination of the X80 and LUM in action below: